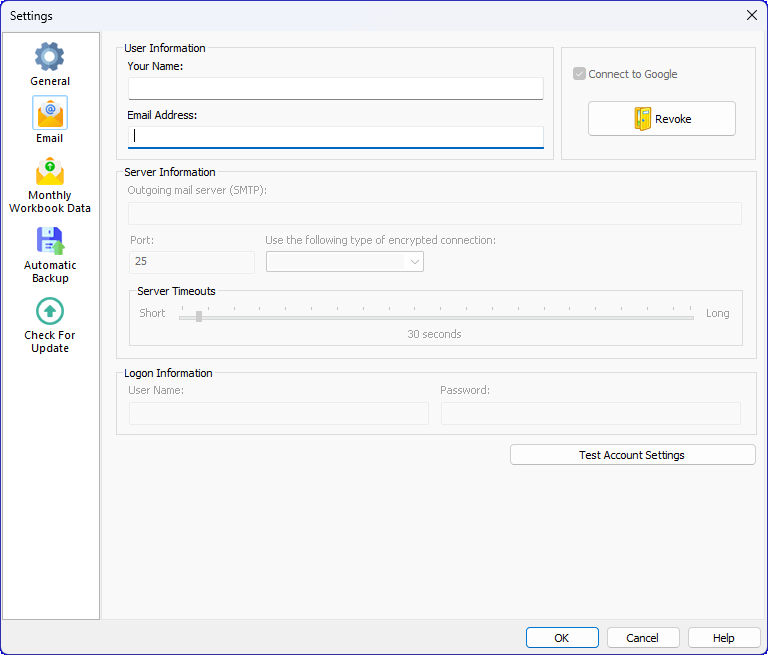
Figure 79: The Email settings window
Email features have been part of Meeting Schedule Assistant since version 17.2.4. They are primarily used by Monthly Workbook Data volunteers to automatically send their updated data files each month by email.
💡 Tip: Gmail users must follow the Google‑specific setup instructions before configuring the settings on this page.
How to Access
You can access this feature in two ways:
- Options → Settings
- Toolbar → Settings
After opening the Settings window, select the Email tab.
Using the Email Settings
The Email tab allows you to configure how Meeting Schedule Assistant connects to your email provider so it can send automated messages on your behalf. The layout mirrors the Microsoft Outlook Email Account page, so many users will find it familiar.
About Email Configuration
Before proceeding, please note that email connection settings vary between providers.
Your email service provider should supply the correct server names, ports, and security requirements.
Step 1 — User Information
Enter your name and email address.
This information is used when Meeting Schedule Assistant sends emails on your behalf.
Step 2 — Google Email Users
If you use a Gmail address:
- Enable Connect to Google
- Click Authorise
- Follow the Google OAuth2 process described in the Google Email child topic
After authorisation, skip to Step 5.
For all other email providers, continue to Step 3.
Step 3 — Server Information
Specify your outgoing mail server and encryption type.
The table below shows the common SMTP settings for popular providers, along with the default values used when no provider‑specific settings are supplied.
|
Setting |
Hotmail / Outlook |
Yahoo |
Default Value |
|
SMTP Server |
smtp.live.com |
smtp.mail.yahoo.com |
(blank) |
|
Port |
587 |
465 |
25 |
|
Encryption |
SSL/TLS |
SSL/TLS |
None |
|
Server Timeout |
(user‑defined) |
(user‑defined) |
30 seconds |
⚠️ Important: Yahoo users must enable Allow apps that use less secure sign in in their Yahoo Account Security settings.
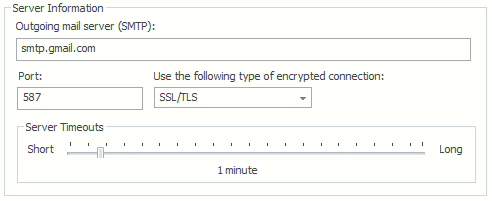
Figure 80: Server Information panel
Step 4 — Logon Information
Enter your username and password.
⚠️ Important: Gmail users must still enter a password, but it is not used.
Gmail connections use OAuth2 tokens instead.
Step 5 — Test Account Settings
Click Test Account Settings to verify your configuration, and if everything is set up correctly, a popup message will confirm that All tests completed successfully and a test email will appear in your inbox.
💡 Tip: Monthly Workbook Data volunteers should also review the Monthly Workbook Data settings.
Related Topics
Navigation
- Back to: Settings
- Previous: General
- Next: Monthly Workbook Data