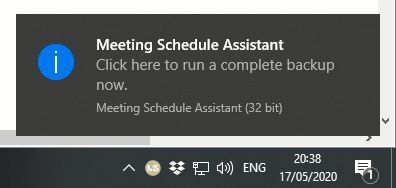
Automatic Backup

Meetings Schedule Assistant has always allowed you to perform a full backup using the Backup Settings feature. However, this puts the responsibility on the user to remember to manually backup the settings from time to time. It is all too easy to forget! Before you know it, you are in a disaster recovery situation and don't have all the schedule changes that you had arranged yesterday!
The Automatic Backup facility helps you avoid such situations (if it is set up properly and maintained). There are three main steps involved:
 You need to click Apply Changes to activate your changes to the backup feature.
What to backup
The first thing to do is to decide what information you would like to get backed up on an automatic basis.
There are three settings to choose from:
- Don't perform any backup when the program shuts down
- Make a complete backup when the program shuts down
- Only make an essential backup when the program shuts down
In is entirely up to you as to what you want to back up. One suggestion is that you use the third option. This way you always have your critical information backed up. Then, whenever you make changes to the system (e.g. install updated S-89 Slip templates) you can perform a complete backup instead. Whatever works for you.
How to backup
Next, you decide how you want the backup to be performed. You can choose from:
- Perform automatically when the program is shut down
- Prompt the user when the program is shut down
The latter might be the best choice because there may be times when you start up Meeting Schedule Assistant to review details and don't actually make any changes. Thus, the latter option makes it a flexible automatic backup. best of both worlds!
Where to backup
Click on the Folder icon and then select the folder where you would like the backup data files to be saved to.

