Import
The Import window is available from the File menu.
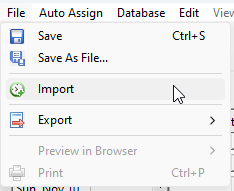
This feature enables you to automatically populate specific assignments on your schedule using data from the selected History Database or CSV file.
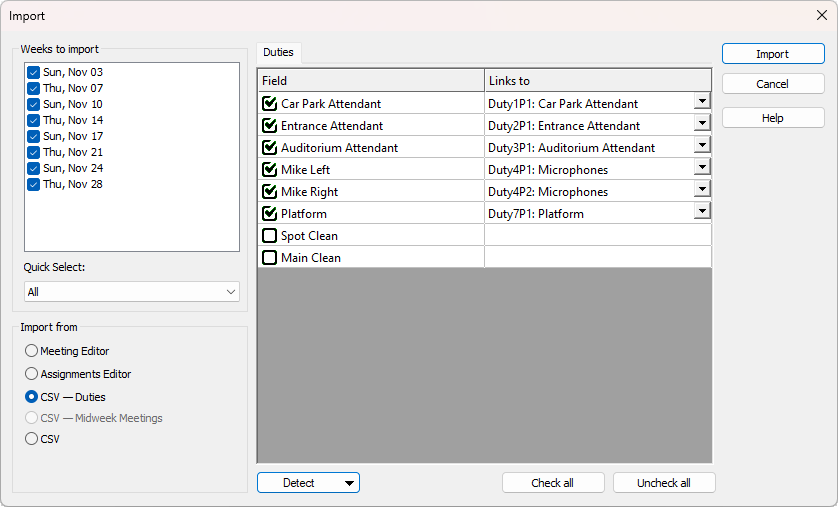
The Import tool is a versatile feature that can be useful in various scenarios. Here are some examples:
- Disaster Recovery
Are you looking to recreate your schedule? You no longer have to manually repopulate it. Use the Clear Assignments feature to reset the data (if needed), and then automatically fill in the assignments from the Assignments Editor history database. - Sync with Meeting Editor
Do you assign some of the personnel using the Meeting Editor? Now you can use this tool to import assignments from the Meeting Editor history database. - Importing from other software
Various scheduling applications support data export, which can then be imported into other tools. This allows users to take advantage of the unique features offered by each application.
While this tool is not designed to replace a robust backup system, it can serve as a useful resource when the need arises.
Weeks to import
You have the option to specify which weeks (or meetings) you’d like to import. The dates listed should match those in the Assignments Editor. By default, all dates are selected.
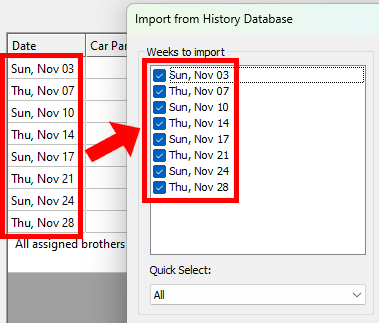
If there are any meeting dates you don’t need processed, simply uncheck them. Or, make use of the Quick Select feature to easily make bulk selections:

Duties
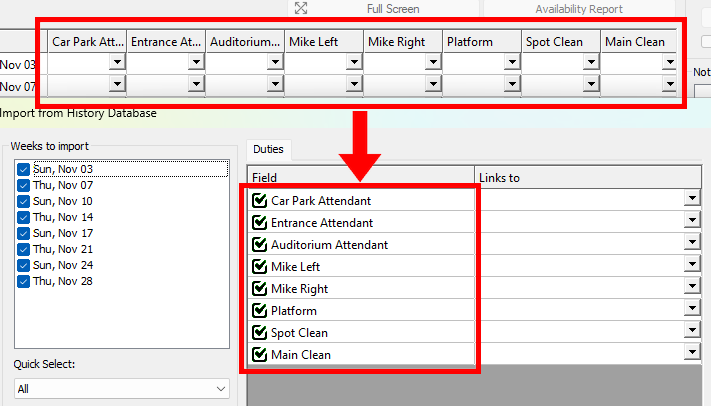
The checklist of duties should match the column headings in the Assignment Editor. By default, all duties are selected.
Import from
You can import assignments from several different history databases:
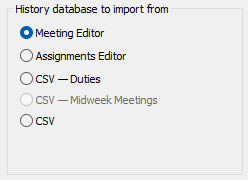
Meeting Editor
Select this database if you want to populate the schedule from the Meeting Editor history. This will import all possible data (based on your chosen settings). See Section 5: Assignment History for more details about this database.
- Select which duties you would like to import into (Field column) or load an existing JSON mappings file.
- Map each duty by using the drop down lists in the Links To column.
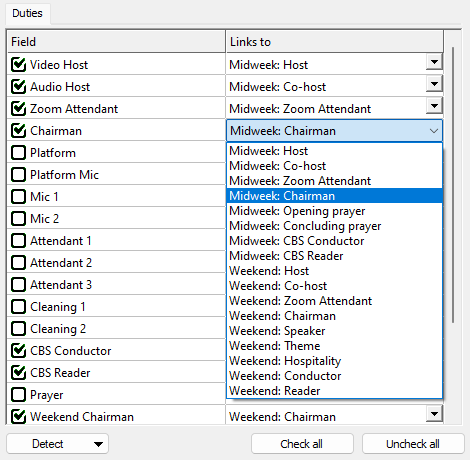
- Save the mappings to a JSON file if required.
- Click Import.
Assignments Editor
Select this database if you want to populate the schedule from the Assignments Editor (duty) history. This will import all possible data (based on your chosen settings). See Duty Assignment History for more details about this database.
- Select which duties you would like to import into (Field column) or load an existing JSON mappings file.
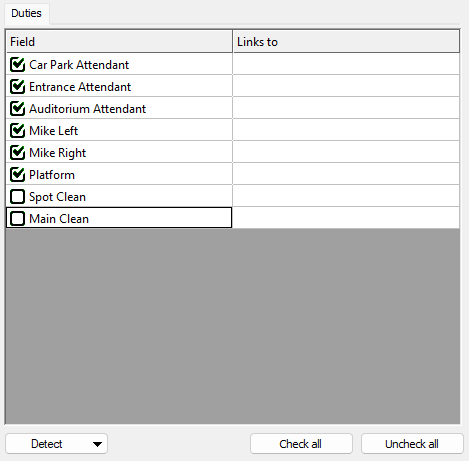
- Save the mappings to a JSON file if required.
- Click Import.
CSV—Duties
Select this option if you want to populate the duties on your schedule from a CSV file. This will import all possible data (based on your chosen settings). Refer to the CSV — Duties help topic for more details about the format of these CSV files.
- Select which duties you would like to import into (Field column).
- Click Select CSV File from the Detect menu and choose the CSV file you want to import.
- Map each duty by using the drop down lists in the Links To column or load an existing JSON mappings file.
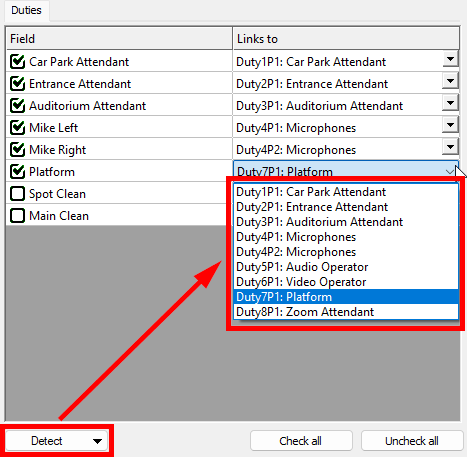
- Save the mappings to a JSON file if required.
- Click Import.
CSV
Select this option if you want a more generic approach to importing from CSV.
Follow the same step-by-step process as for CSV—Duties.
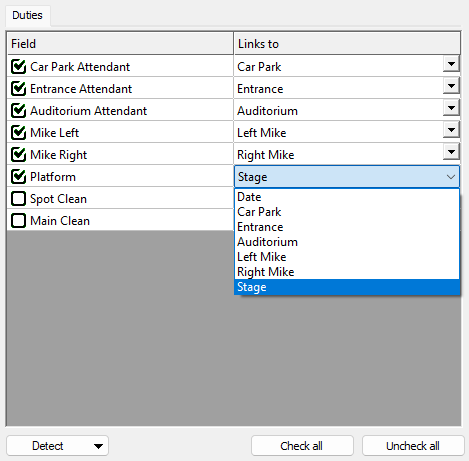
Refer to the Using CSV Files section below for additional information.
Detect
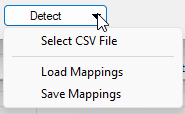
- Select CSV File: Displays file selection window for you to choose the CSV file to import.
- Load Mappings: Displays file selection window for you to choose the JSON mappings file to load.
- Save Mappings: Displays file selection window for you to choose the JSON mappings file to save to.
Using CSV Files
There are some rules that you need to keep in mind about the structure of the CSV file data:
- The date field value must be in the YYYY/MM/DD format.
- The delimiter should be a comma or semi-colon.
- Including public talk information? Then please ensure the fields are listed in order of priority:
- Congregation
- Speaker
- Talk Outline
This needs to be done for the validation checker to work properly. Any errors will be displayed to you at the end of the import process.
Priority
If you use this feature then it is suggested that you perform automatic assigning in this order:
- Import existing assignments using the Import tool.
- Use the Auto Assign Single Column where appropriate.
- Review the Auto Assign Settings to ensure the already populated columns are set as excluded.
- Use Auto Assign.
