Publishers
The Publishers Database is available from the Database menu.

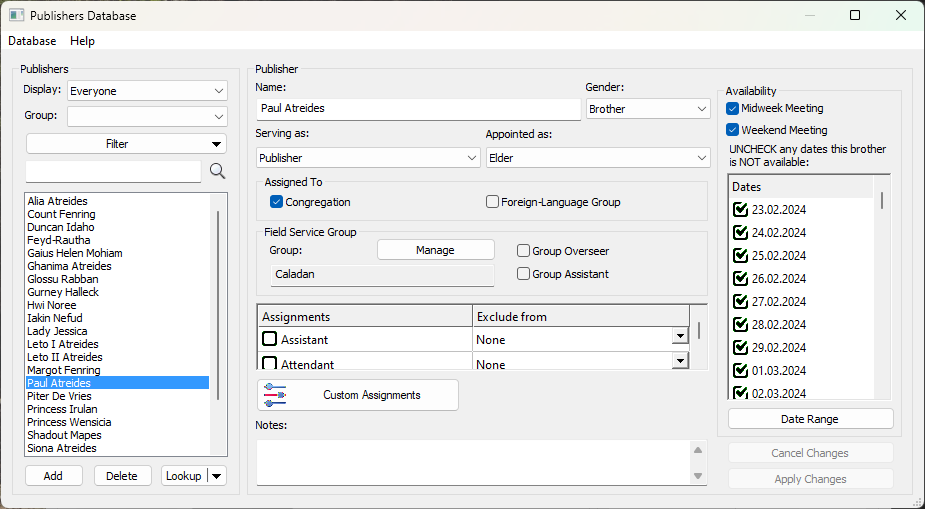
 Learn more about Publishers Database by looking through the rest of this help topic. Or, as an alternative, click on the option you are interested in on the screenshot above.
Overview
The Publishers Database is at the very heart of Meeting Schedule Assistant. It was introduced in version 17.0.9. Up until then, the personnel was managed from different locations within the application and in some instances, you had to duplicate names so that they would show in all the required drop lists. In addition, extra information (like notes, dates not available or default exclusions) were all stored in external data files.
All of these various aspects of the application have now been brought together so they can be managed in one place. The database itself is an XML data file and is held in the user application data folder.
 It is beyond the scope of this help topic to describe the syntax of the XML file. Do not manually alter the database unless you know what you are doing. Making such modifications outside of the application is done entirely at your own risk of data loss.
Importing Publishers
The Import Publishers menu item is only enabled if the Public Talks application is installed. This feature has been provided to assist you in populating the Publishers Database.
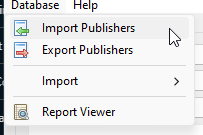
It reads the Public Talks Database and displays a list of all those who are not yet already in the Publisher Database:
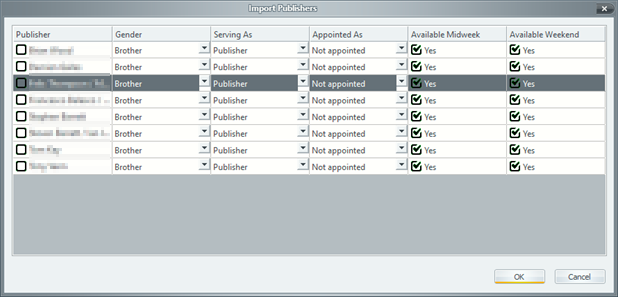
From this list you can then decide on who to import them by setting the check box against their name. In addition, you can set up some of the basic information, like:
- Their gender
- If they are a publisher or serving in some capacity
- Or their availability
 All other refinements (like assignments) would need to be made once they have been added to the publisher database.
Exporting Publishers
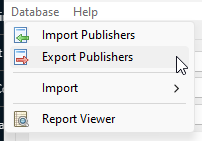
The Export Publishers menu item allows you to export a list of all the publishers' names into a simple XML document.
For example:
|
<?xml version="1.0" encoding="utf-8" standalone="yes"?> |
Import from CLM Explorer
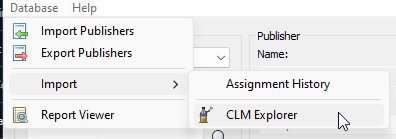
Displays the Importing Students from CLM Explorer window which allows you to automatically populate the database from the CLM Explorer software. Click the link to find out more.
Report Viewer
The Report Viewer is a powerful tool that allows you to select from a variety of reports for printing or saving as PDF. Here’s what you can do with it:
- Select Reports: When you open the Report Viewer, you’ll find a list of available reports. Choose the one that suits your needs — whether it’s congregation statistics, public talk summaries, or other relevant information.
- Custom Templates: In version 24.0.0, several custom templates were moved from the Meeting Editor to the Report Viewer. These templates provide flexibility in formatting and content. You can tailor them to your specific requirements.
- Field Service Group Template: Additionally, a brand-new template was added specifically for displaying Field Service Group information. This template ensures that group details are presented in a visually appealing report format.
- Field Ministry Assignments Template: Another new template allows you to display Field Ministry arrangements in a clear, visually appealing report format.
Feel free to explore the reports and templates available in the Report Viewer.
Managing the Publisher Database
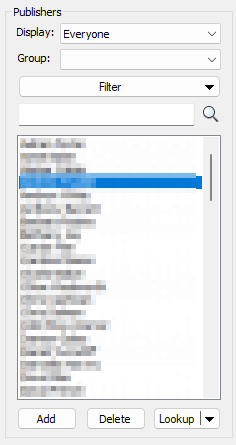
Publisher List
This displays a list of all of the publishers held in your database. There are three actions that you can take:
|
The Lookup button behaves like this:
|
Display Filter
You can limit the names displayed in the list by using this filter.
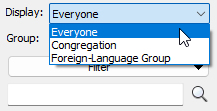
There are three choices available:
- Everyone
This option displays all publishers held in the database. - Congregation
This option only displays the publishers who have been assigned to the Congregation. - Foreign-Language Group
This option only displays the publishers who have been assigned to the Foreign-Language Group.
Filter by Group
Click the drop-down arrow on the right to display a drop-down group menu to fine tune which publishers are displayed.
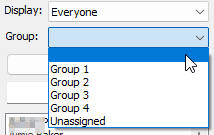
You can filter by:
- The empty option at the top will include everyone in the publishers database.
- The Unassigned option at the bottom will include those who are not assigned to any field service group.
- All other options will only include publishers for the respective field service group.
Extra Publisher Filters
Click the drop-down arrow on the right to display a drop-down filter menu to fine tune which publishers are displayed.
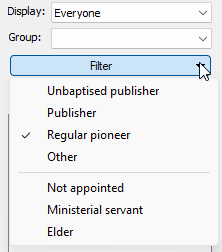
Select any combination of options that you want to filter by and the list of publishers will be updated.
 Did you know you can easily reset the current filter by clicking the Clear Filter button?
Filter by Name
It is also possible to limit the displayed list of publishers by using this text filter.
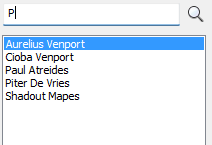
All publishers that contain the text you have entered into the filter will be displayed. The text can appear anywhere in their names and the search is case insensitive.
 Please note that the publisher list and buttons etc. are disabled if you are in the middle of editing an existing publisher.
Publisher Details
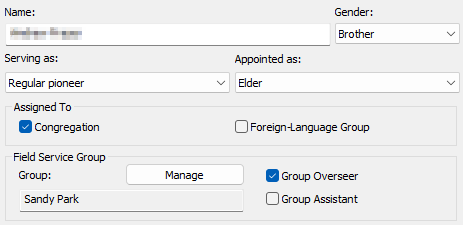
Use the top part of the window to specify the publishers name. Then use the drop lists (these are self explanatory) to set their:
- Gender
Brother / Sister - Serving As
Unbaptised Publisher / Publisher / Regular Pioneer / Other - Appointed As
Not Appointed / Ministerial Servant / Elder
Assigned To
The publisher can be assigned to the Congregation and / or the Foreign-Language Group. The majority of Congregations do not sponsor a group. However, if you do, please remember to correctly assign each publisher.
Use the Notes area as you require.
Field Service Group
Click on the Manage button to use the Field Service Group Manager to add, edit, or delete groups and manage the assignment of publishers to specific groups.

You can also indicate if the publisher is the:
- Group Overseer
- Group Assistant
 Only appointed brothers can be set as the Group Overseer.
Publisher Assignments
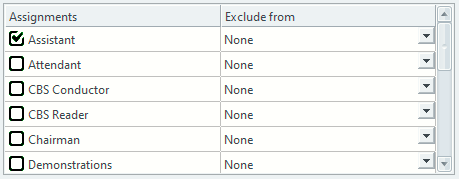
The left column presents a list of all possible assignments that are available in Meeting Schedule Assistant. This includes all the mandatory assignments and any custom assignments that you have added.
The right column is for setting up exclusion defaults. There may be instances where a brother can be available for some assignments and not others on the same meeting. As an example, the Watchtower Conductor would not be available as the Reader or for Microphones etc.
 Note that there are both Assistant and Student assignments (Bible Reading / Discussion / Talk)! Also, that default exclusions are only applied when creating new schedules. You need to also be aware that they are only applied to the active schedule type (for most users, this will be the default schedule type).
Custom Assignments
|
|
 Use the Options dialogue to specify which of these custom assignments you would like to include or exclude from each schedule.
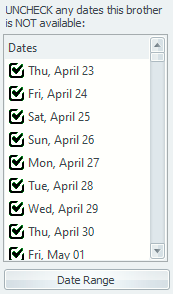
Publisher Availability
 Unlike default exclusions, the publishers' availability takes affect no matter what the active schedule type is. These options determine which meetings that the selected brother will be available for. This will be applied across all assignments. These settings determine if his name will be available for a given meeting when creating a schedule.
|
Doing this will remove them from all assignments on the schedules you create that encompass the relevant dates. If appropriate, they will also be excluded from automatic assignments. As with the availability check options described above, this set of dates are applied across all assignments. Sometimes, you may need to adjust dates across several weeks. To help with this, use the Date Range button. It opens a window where you can select the start and end dates, specifying when the someone is available or unavailable. |
 Please note that the dates displayed in the list will use the custom date format that is specified in the options dialogue (if set).
Publisher Availability - Order of PrecedenceAs you can see, there are several ways that you can indicate when a publisher is available. Each of them has their uses. However, they all come together to provide a composite overview of the publishers' availability for a given assignment. Thus, the application follows a strict order of precedence to decide if a publisher can be used:
|
Notes
The Notes field can be used to include any additional information about the publisher.
 Did you know that you can filter on the publisher notes field when selecting students in the Meeting Editor?

