Report Viewer
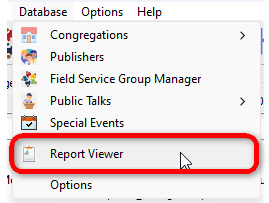
Report Viewer is available from Database menu:


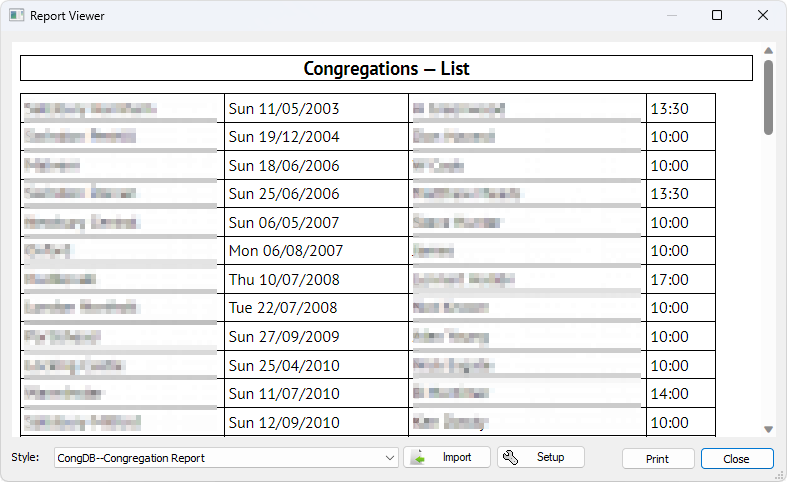
The Report Viewer is automatically resized to fit your monitor when it is displayed to give you the best user experience.
 To learn more about the features of this window, glance down the table below or highlight the control you are interested in by clicking on the screenshot above.
Style
Use the dropdown list to select the report style (template) that you want to use.
- CongDB
prefixed templates are designed to display information from the Congregations database. - PublisherDB
prefixed templates are designed to display information from the Publishers database. - TalkDB
prefixed templates are designed to display information from the Public Talks database.
Import
Click this button to display a file selection window. You can then select CSS/XSL files or a ZIP Archive and import them directly into the application. The list of files is filtered to display those with the right file names.
- Do you have an idea for a new report? Then consider asking about it in the Meeting Editor — Templates support forum.
- Have you designed your own report and want to share it with other users of Meeting Schedule Assistant? Then consider making it available in the Meeting Editor — Template Samples support forum.
 It is beyond the scope of this help topic to explain the fundamentals of writing CUSTOM XSL templates. Disclaimer: import and use third-party XSL/CSS files at your own risk.
Setup
Use this window to specify the type of report to create and what information to include. The window that gets displayed depends upon which report view mode you are using:
- Congregations: Displays the Congregations Setup window.
- Publishers: The Setup button is disabled.
- Public Talks: Displays the Public Talks Setup window.
Displays the familiar Microsoft Edge Print user interface for you to print the report to a printer or save it as a PDF file.
Context Menu
Did you know that you can right-click the preview area to display this context menu? This menu provides the following shortcuts:

- Refresh the schedule view.
- Export the schedule to CSV, HTML or PDF.
- Print the schedule (you can also save as PDF this way).
- Screenshot
The Screenshot tool allows you to take screenshots of the schedule. You can use it to take sections of the schedule or the entire schedule itself. You can also use the tool to annotate your shot with comments or highlights, for example. - View > CSS
View the underlying CSS stylesheets used in conjunction with the XSL transformation template to format the schedule's appearance.
- View > XML
Access the raw XML data that, along with the XSL transformation template, is used to generate the schedule.. - View > XSL
View the XSL transformation template that processes the XML data to create the schedule. - View > View Source
View the underlying HTML code used to render the schedule on the page.
 The View CSS / XML / XSL / Source features are used to customize or create templates.
- Find
Quickly search for specific words or phrases within the schedule. - Open File Location
Open the working data folder in File Explorer and automatically highlight the active schedule template file. - Inspect
Analyse the schedule's structure and content using the Inspect tool for a deeper understanding.
Click on the respective links to learn more about each of these features.
