How to use Script Builder
Sample Scenario
Objective: To add Duty Assignments to the Workbook S-140 Legacy template.
In this tutorial you will see how to add a Duty Assignments list to an existing schedule template. What you learn can help you make more extensive schedules!
- Step 1 — Start the Meeting Editor
- Step 2 — Configure
- Step 3 — Update the stylesheet
- Step 4 — Update the template
- Updating the display
- Additional Resources
 This How To tutorial uses the Legacy template as a worked example and is not to be treated as an exhaustive set of instructions. It does go through the fundamentals of the steps involved in using the Script Builder. Please use the Discussions area on GitHub if you need further assistance.
Step 1
- Start the Meeting Editor by creating a new schedule or opening an existing one.
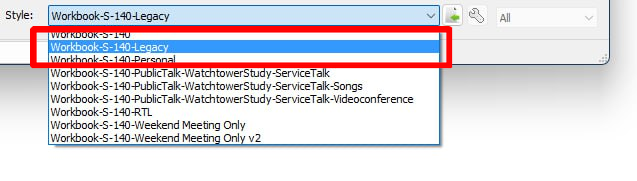
- Select "Workbook S-140 Legacy" from the Styles list.
Step 2
- Open Script Script Builder by clicking Tools > Script Builder.
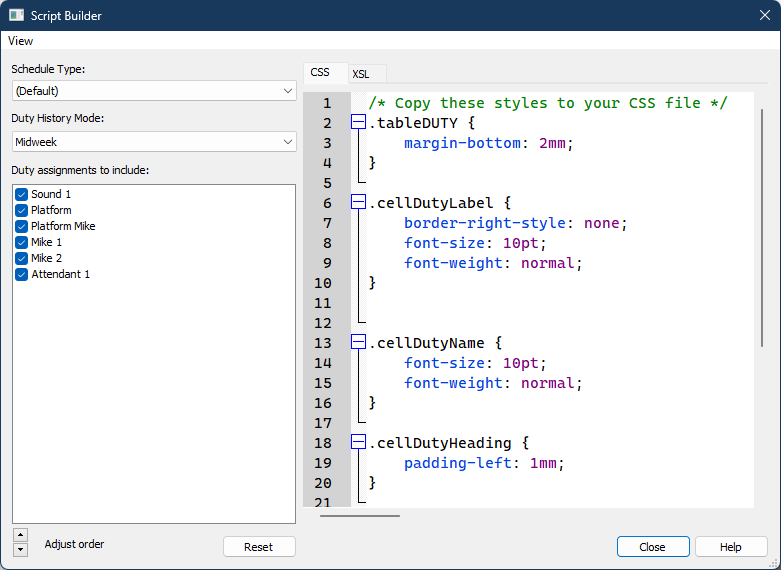
- Adjust the following settings:
- Schedule Type: Default.
- Duty History Mode: Midweek.
- Duty assignments to include: Select the assignments that you want to include.
- Adjust order: Change the order of the assignments if you want to.
You should now see some sample CSS / XSL code on the right-hand side.
In this tutorial the Report Mode is Meeting and we are only interested in the Midweek duty assignments. So we selected Midweek in the dropdown list. So go ahead and select the mode you want to use.
Step 3
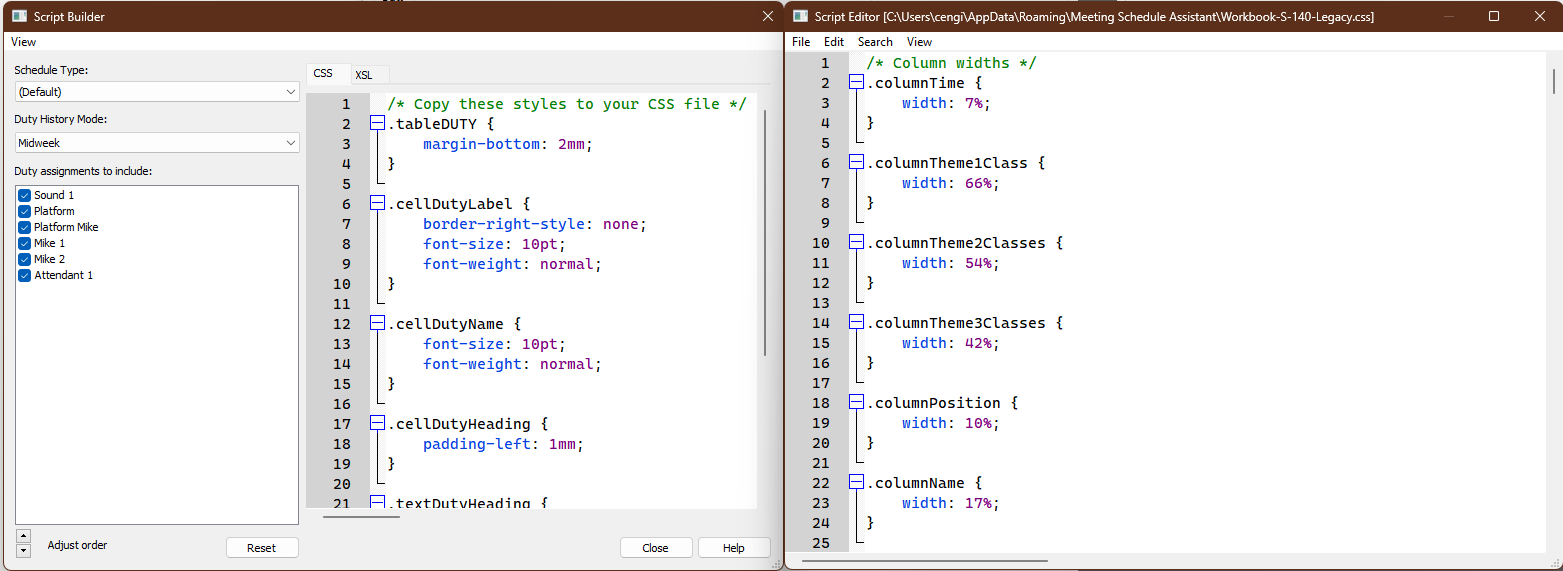
- Move the Script Builder window to one side (keep it open).
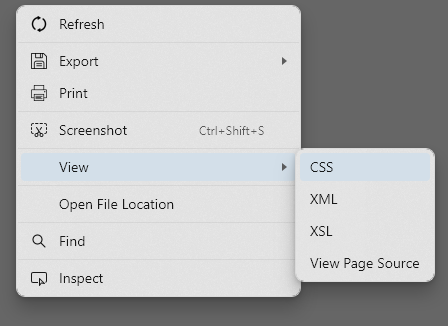
- Right-click the schedule and select View -> CSS from the context menu and it should open the stylesheet in the built-in text editor.
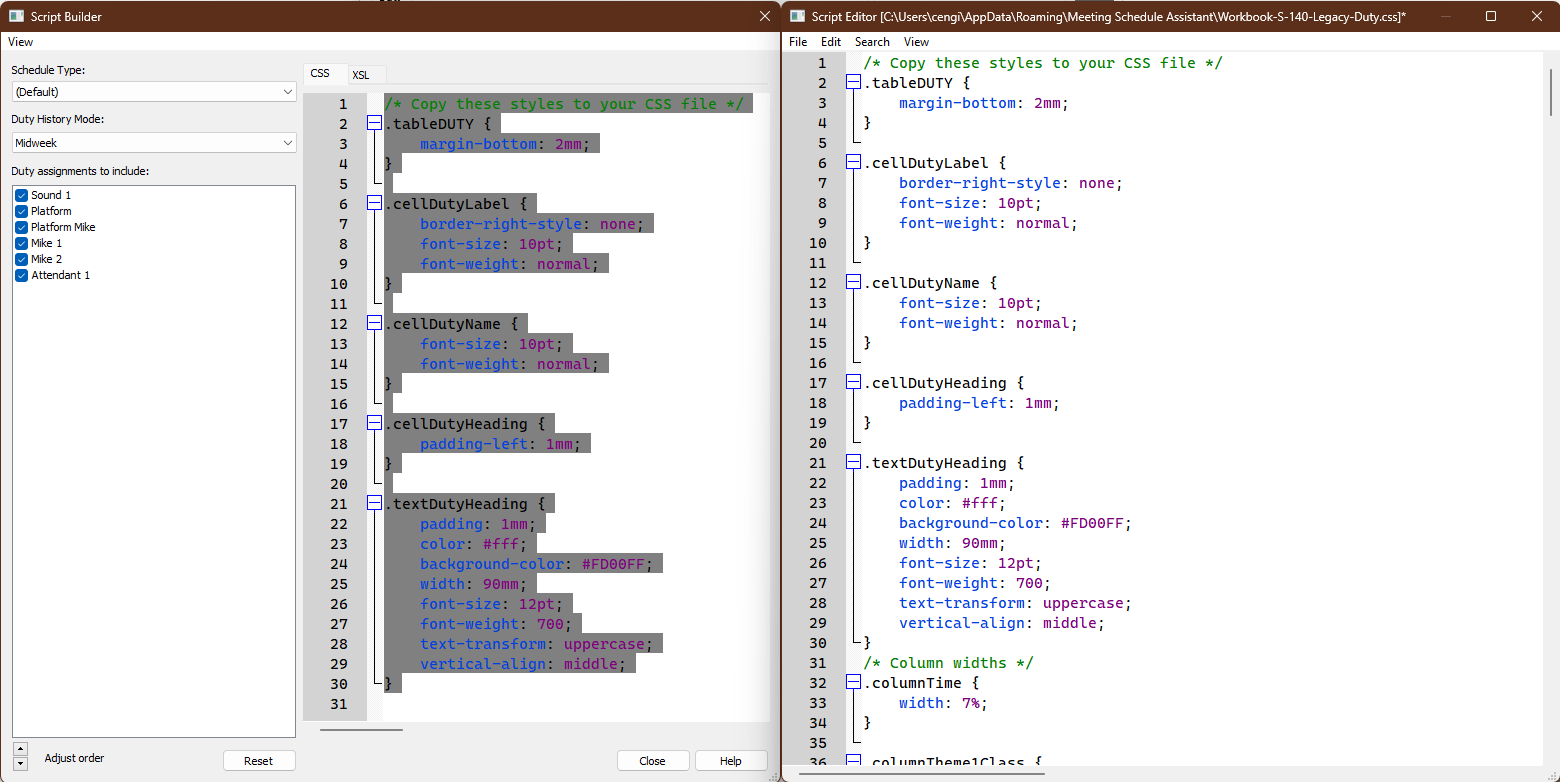
- Adjust the layout so you can see both the Script Builder and Script Editor side by side:
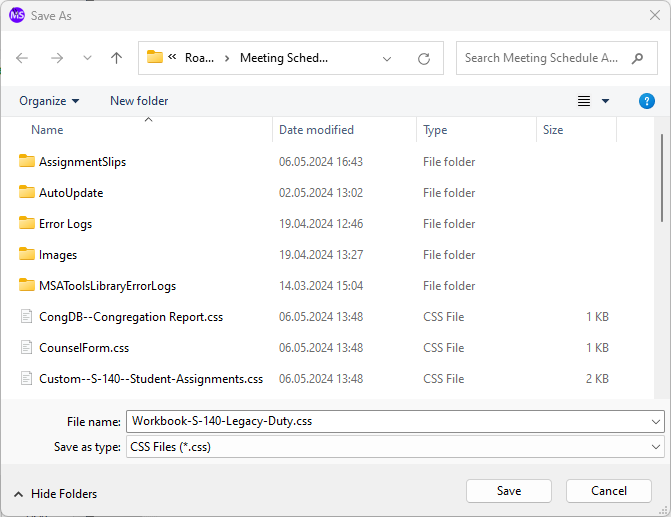
- Save the stylesheet with a new name (File > Save As File ...). Rename it by added a suffix (eg: "-Duty"):
- Select all the CSS code from the Script Builder window, then right click and select Copy (or press CTRL+A). Paste the copied CSS code into the Duty.css at the very beginning (line 1). Like this:
- Save the CSS file and close the Script Editor. But keep the Script Builder open.
Step 4
- Right-click the schedule and select View -> XSL from the context menu and it should open the template in the Script Editor.
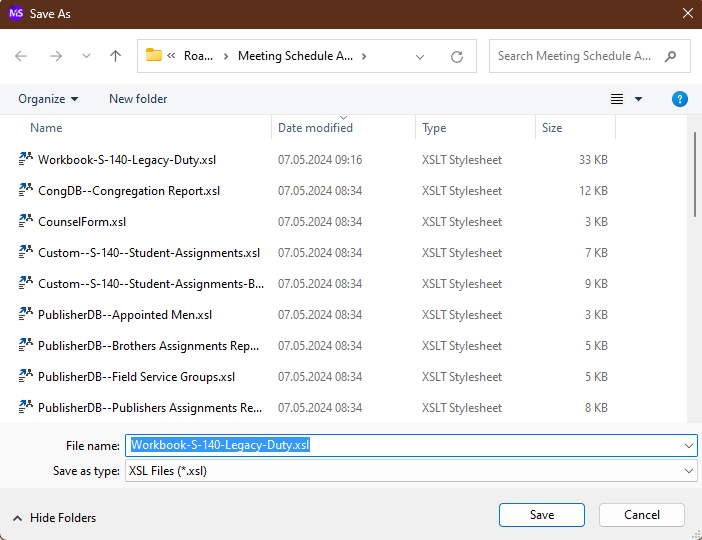
- Save the template with a new name (File > Save As File ...). Rename it by added a suffix (eg: "-Duty"):
- Select the XSL tab in the Script Builder.
The script needs to be copied into the renamed template in several stages as detailed below.
Stage 1
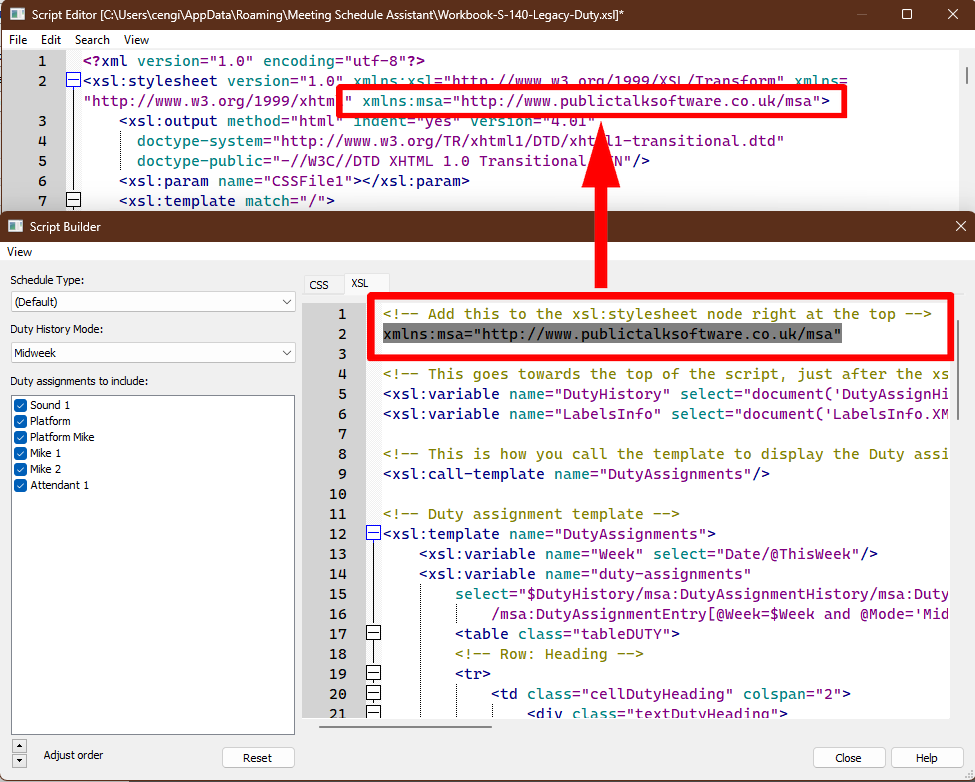
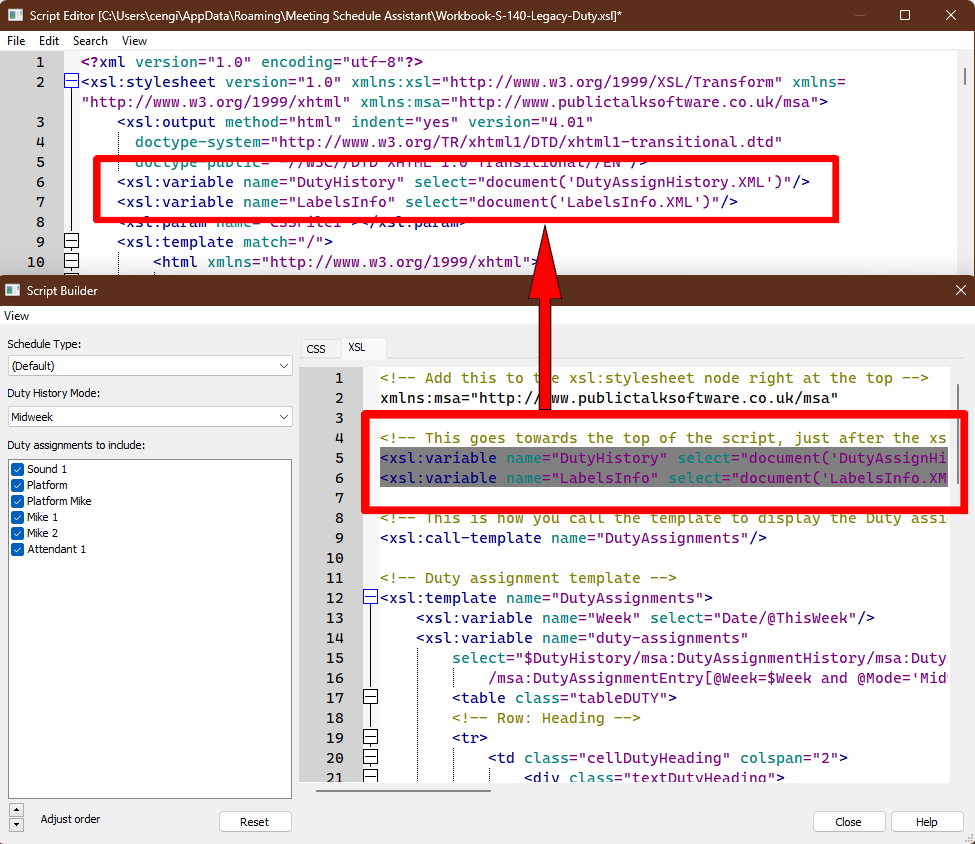
As instructed "Add this to the xsl:stylesheet node right at the top". Like this:
Stage 2
As instructed "This goes towards the top of the script, just after the xsl:output node". Like this:
Stage 3
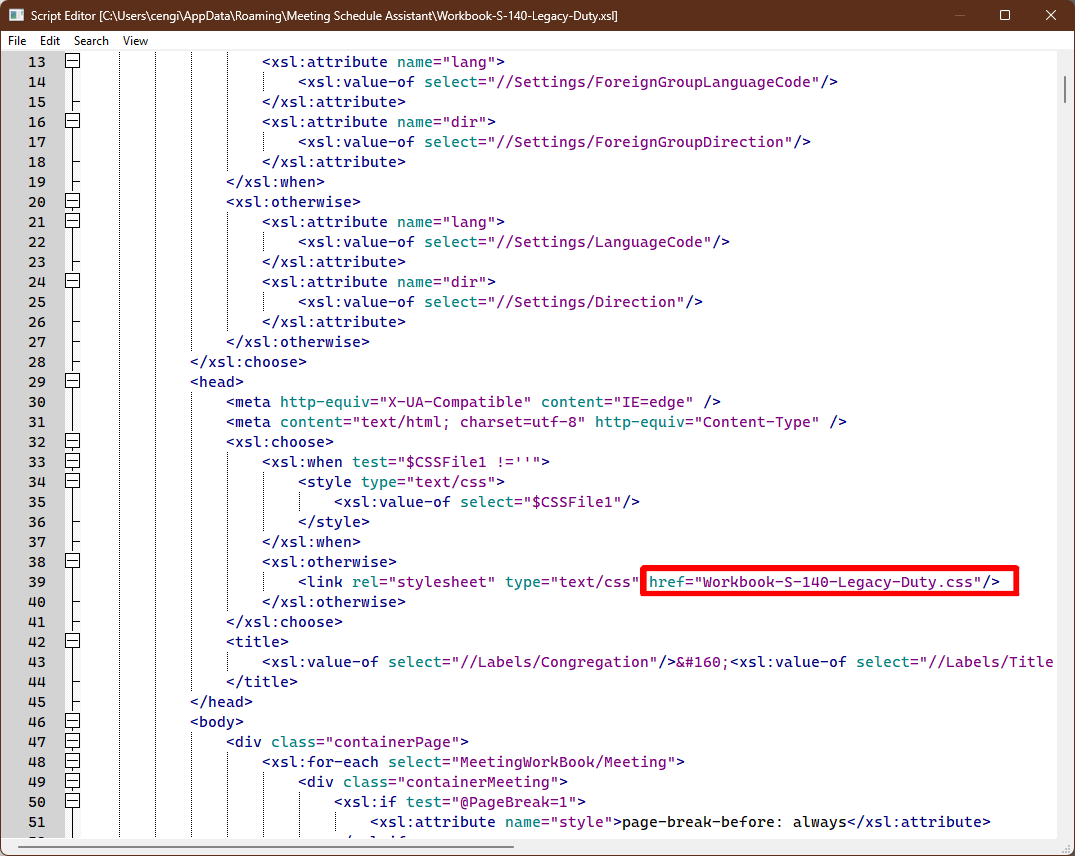
Change the name of the linked CSS file to the new file. Do this by locating the line which has the word link:
Stage 4
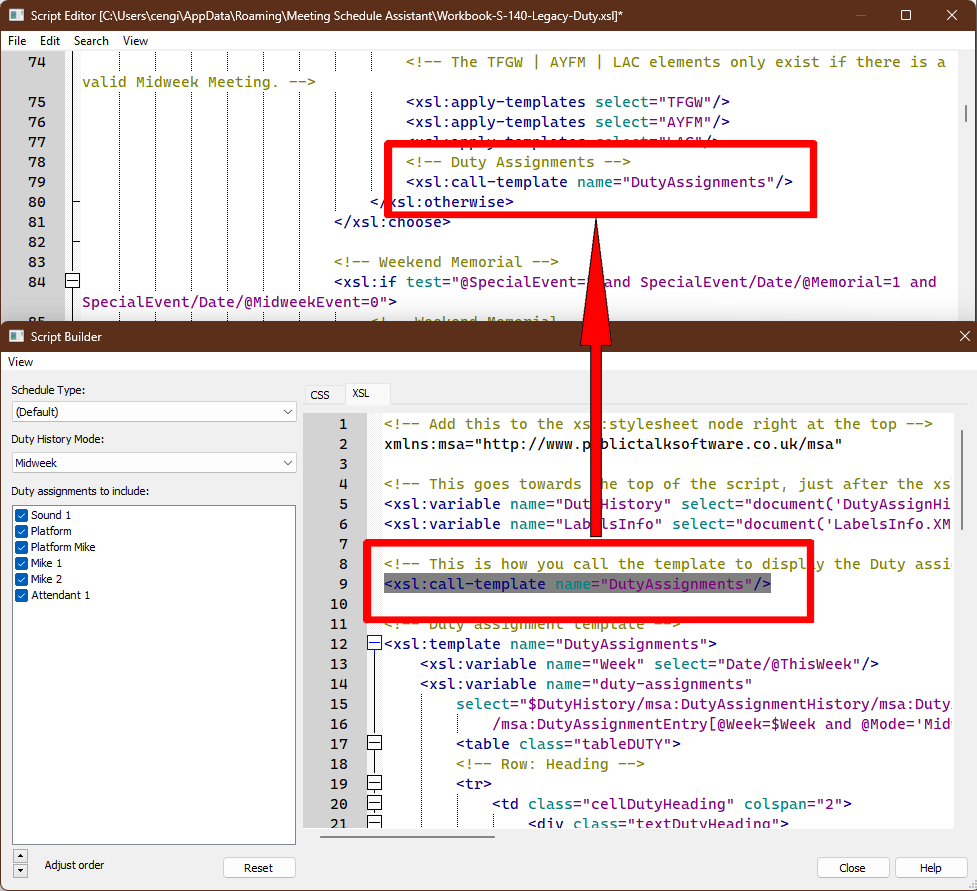
Now copy the function call line and paste where you would like the duty history displayed.
This How To help topic assumes you want the assignments displayed at the bottom.
Stage 5
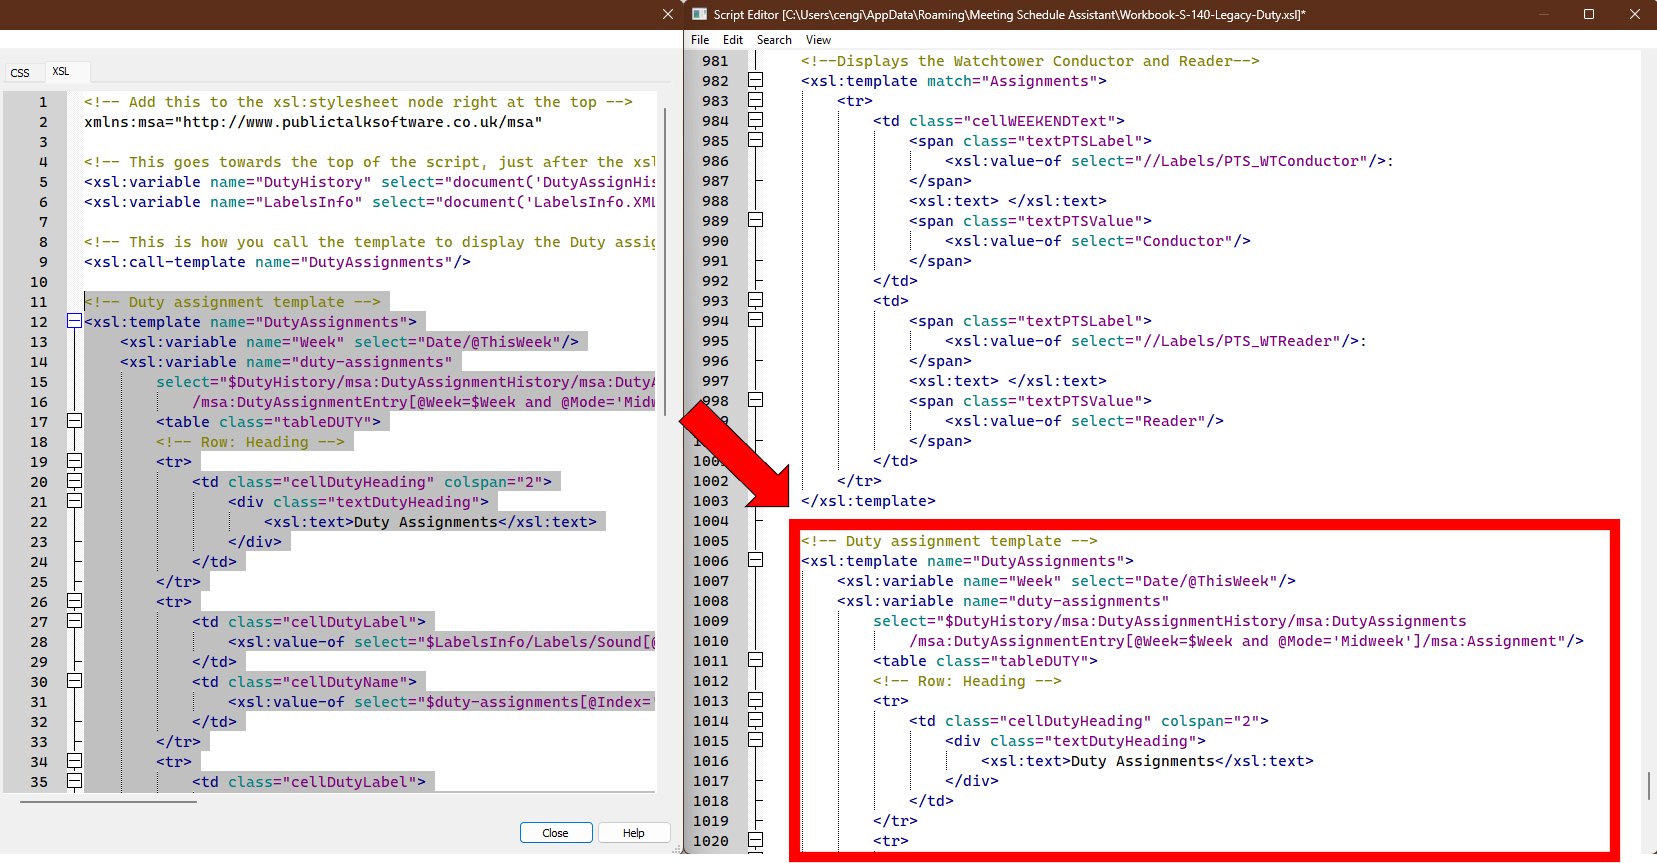
Copy the actual function and paste it towards the bottom of the XSL file:
- Save the template and close the editor.
- Close the Script Builder.
Updating the Display
- Close the Script Builder.
- Select the new Duty template from the dropdown list.
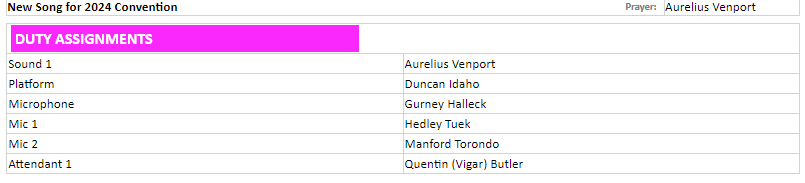
There is no right or wrong way to present the duty info. This How To help topic presents the assignments in a basic list to cover all needs as simply as possible but you could now re-work the script to display the information in anyway you like.
Additional Resources
Help Topics