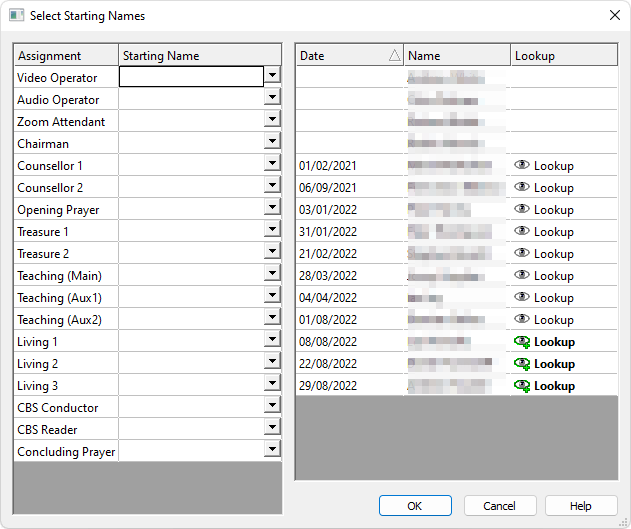
Select Starting Names
The Select Starting Names window is displayed during the auto assign operation when this setting is switched on the Auto Assign Settings window.


 Learn more about the Select Starting Names window by looking through the rest of this help topic. Or, as an alternative, click on the item you are interested in on the screenshot above.
Overview
This window is only displayed during the Auto Assign operation when the Select Starting Names option is switched on in the settings. It is split into two panels.
There are two reasons for using this feature:
- It enables you to continue populating the schedule relative to the last schedule.
- It can assist in avoid conflicts of assignment.
 The tool will automatically select a random name from the dropdown list when this option is switched off.
Left Panel
|
All assignments that have the Auto Assign option switched on in the settings will be displayed in this list.
|
|
|
Use the dropdown list to select the starting name for that assignment on the schedule.
|
Right Panel
|
This displays the last date that each publisher had the specified assignment. The Weeks to include mode on the settings window determines what the cut-off date is:
|
|
|
This displays the name of the publisher who had the specified assignment on that date.
|
|
|
Click the Lookup button to display all available history the publisher has for the specified assignment. This includes:
|
