Authorisation
To use the Google Calendar feature, you’ll need a valid Google Account. Meeting Schedule Assistant must be authorised to access your calendars, and this process normally only needs to be completed once.
⚠️ Internet access required:
If you use a software firewall, you may see prompts asking whether to allow the application to connect to the internet. Choose Allow when prompted.
Google Calendar synchronisation uses a one‑time OAuth2 sign‑in process. Once authorised, Meeting Schedule Assistant can create and update events in your Google Calendars.
Step 1 — Begin Authorisation
Press the Authorise button to start the process.

Figure 166. Google tab showing the Authorise button.
Step 2 — Choose an Account
Your browser opens the Google sign‑in page.
Select the account you want to use for calendar synchronisation.

Figure 167. Google sign‑in page.
Step 3 — Grant Permission
Google displays a consent screen requesting access for Public Talks and Meeting Schedule Assistant Calendar Interface.
Review the information carefully, then click Allow to continue.

Figure 168. Google consent screen.
Step 4 — Security Notification Email
After authorising access, Google sends a confirmation email to your account.
This message simply informs you that Public Talks and Meeting Schedule Assistant Calendar Interface has been granted access.
If you did not initiate the process, click Check activity to review and secure your account.

Figure 169. Google security notification email.
Step 5 — Confirmation
Once authorisation is complete, Meeting Schedule Assistant displays a confirmation message.
This indicates that you are now connected and have access to your Google Calendar list.
You can safely close the Google redirection page in your browser.
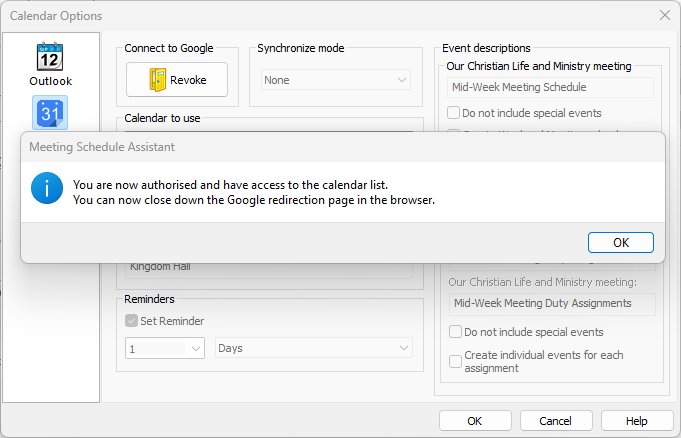
Figure 170. Authorisation confirmation message.
Calendar List
After authorisation, Meeting Schedule Assistant displays your available calendars.
Only calendars that you own (and can write to) appear in this list.
Select the calendar you want to use for synchronisation.

Figure 171. Google calendar list.
Revoking Access
To revoke authorisation at any time, press CTRL + R or click Revoke in the Calendar Options window.
You’ll need internet access; the process removes access from your Google Account and resets the calendar list.
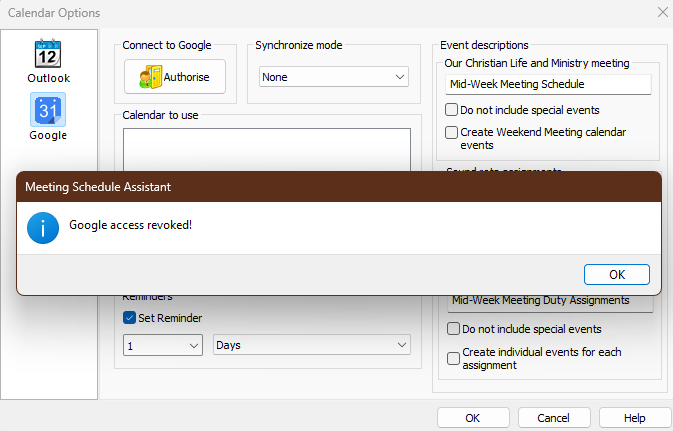
Figure 172. Google access revoked message.
For additional guidance, you can visit Google’s support page:
Share some access to your Google Account data with apps from other developers
(opens Google Support)
Related Topics
Navigation
- Parent topic: Google Calendar