Notes and Images

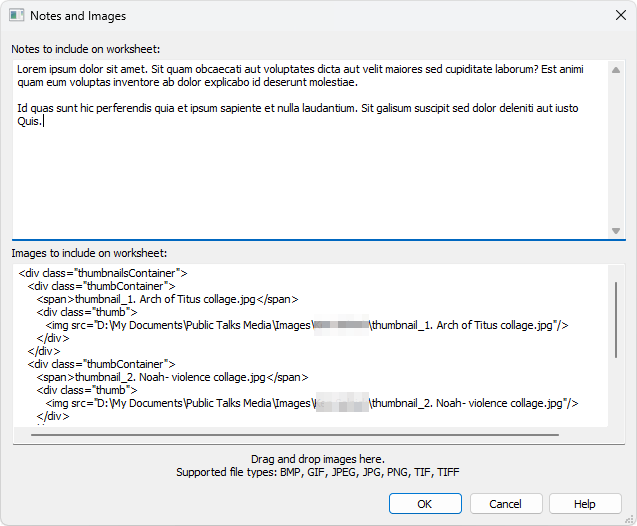
A speaker might choose to use digital media for his talk as teaching aids. And, he might have some instructions to go along with the media for the Audio / Visual Team. Use the Notes and Images window to input this information.
Notes and Images can be specified for the following talks:
- Meeting Editor: Circuit Overseer — Service Talk 1
- Weekend Meeting Editor: Circuit Overseer — Service Talk 2
- Weekend Meeting Editor: Public Talk
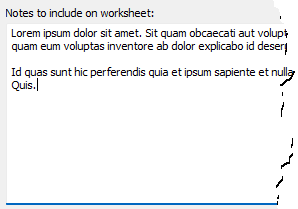
Notes
Notes that you receive from the speaker usually include details about when to display his images during the talk.

|
|
Images
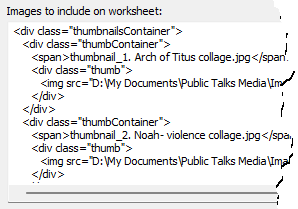
You can easily include thumbnails of the speaker's image requirements on the worksheet. All you need to do is drag and drop the images onto the window from File Explorer.

It will create a snippet of HTML for you which is designed to display the images as a series of small thumbnails in a grid:

notes and images are automatically included on the following default templates:
- Worksheet
- Worksheet RTL
- Worksheet S-140 Weekend Meeting
|
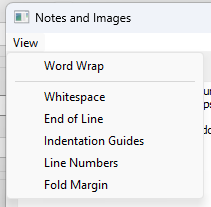
Here’s a concise guide to the View menu:
|
 At the moment it is only possible to drag images into the software.

